Glimmer Landing Page_1200 x 400 Header Image.jpg__PID:c4a065ca-e7d5-42a7-baa7-043107e385e4
Glimmer Landing Page_500 x 300 Machines.jpg__PID:db4e277c-754f-499c-a95c-e70d93a6cbef
Glimmer Landing Page_500 x 300 Shop Die Collections.jpg__PID:5ce70d93-a6cb-4f40-b787-f1bdd08d0b66
Glimmer Landing Page_500 x 300 Shop Foils.jpg__PID:0d93a6cb-ef40-4787-b1bd-d08d0b665087
Glimmer Landing Page_500 x 300 PDF User Guide.jpg__PID:a6cbef40-3787-41bd-908d-0b6650870f00
Glimmer Landing Page_500 x 300 Compatibility.jpg__PID:ef403787-f1bd-408d-8b66-50870f00b012
Glimmer Landing Page_500 x 300 Tips & Techniques.jpg__PID:3787f1bd-d08d-4b66-9087-0f00b012f3d6
Glimmer Landing Page_500 x 300 FAQ.jpg__PID:f1bdd08d-0b66-4087-8f00-b012f3d610de
Glimmer Landing Page_500 x 300 Project Inspiration.jpg__PID:d08d0b66-5087-4f00-b012-f3d610de352a

INTRODUCING GLIMMER HOT FOILING

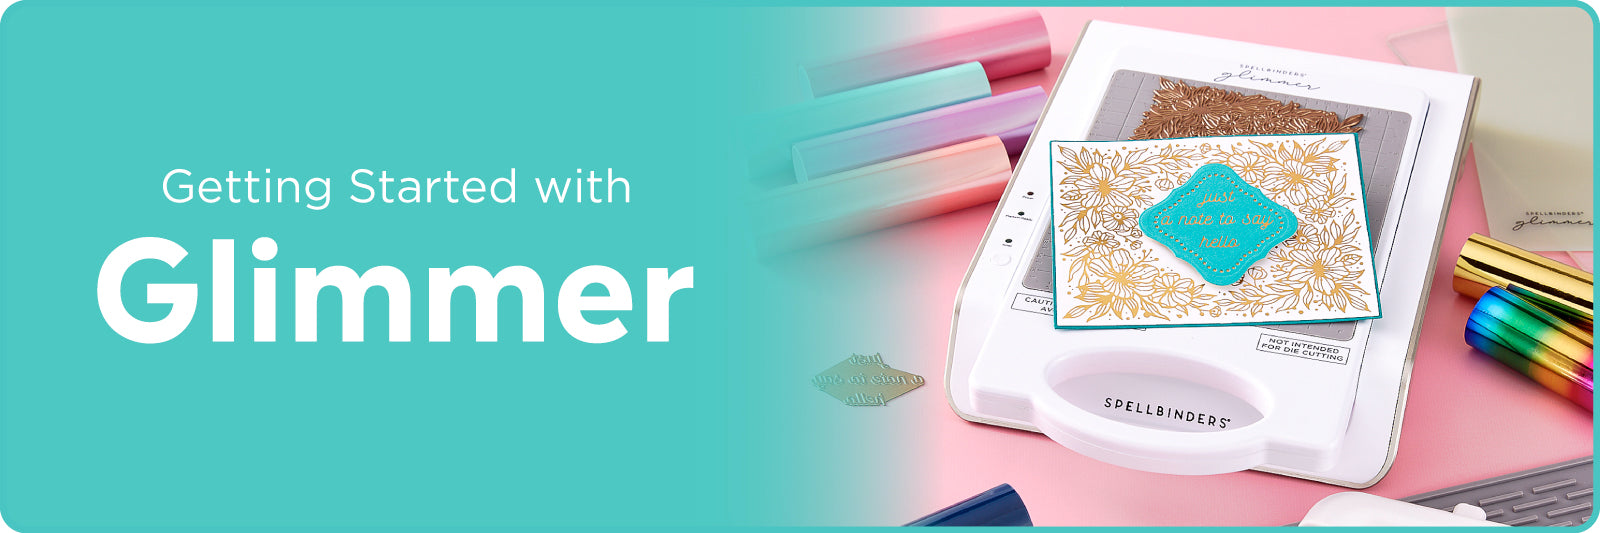
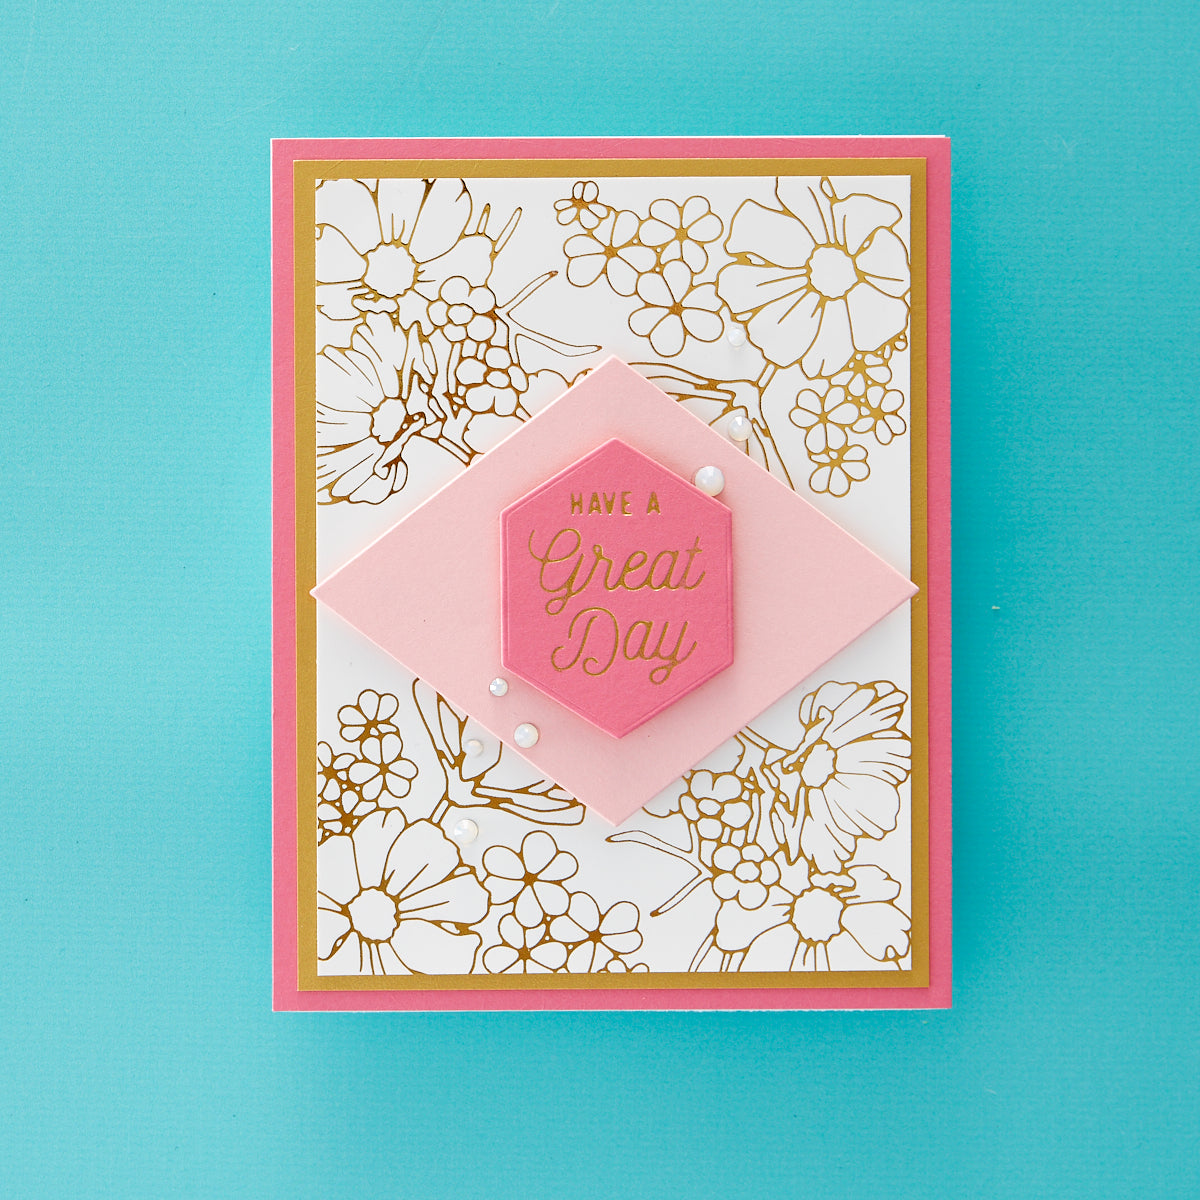
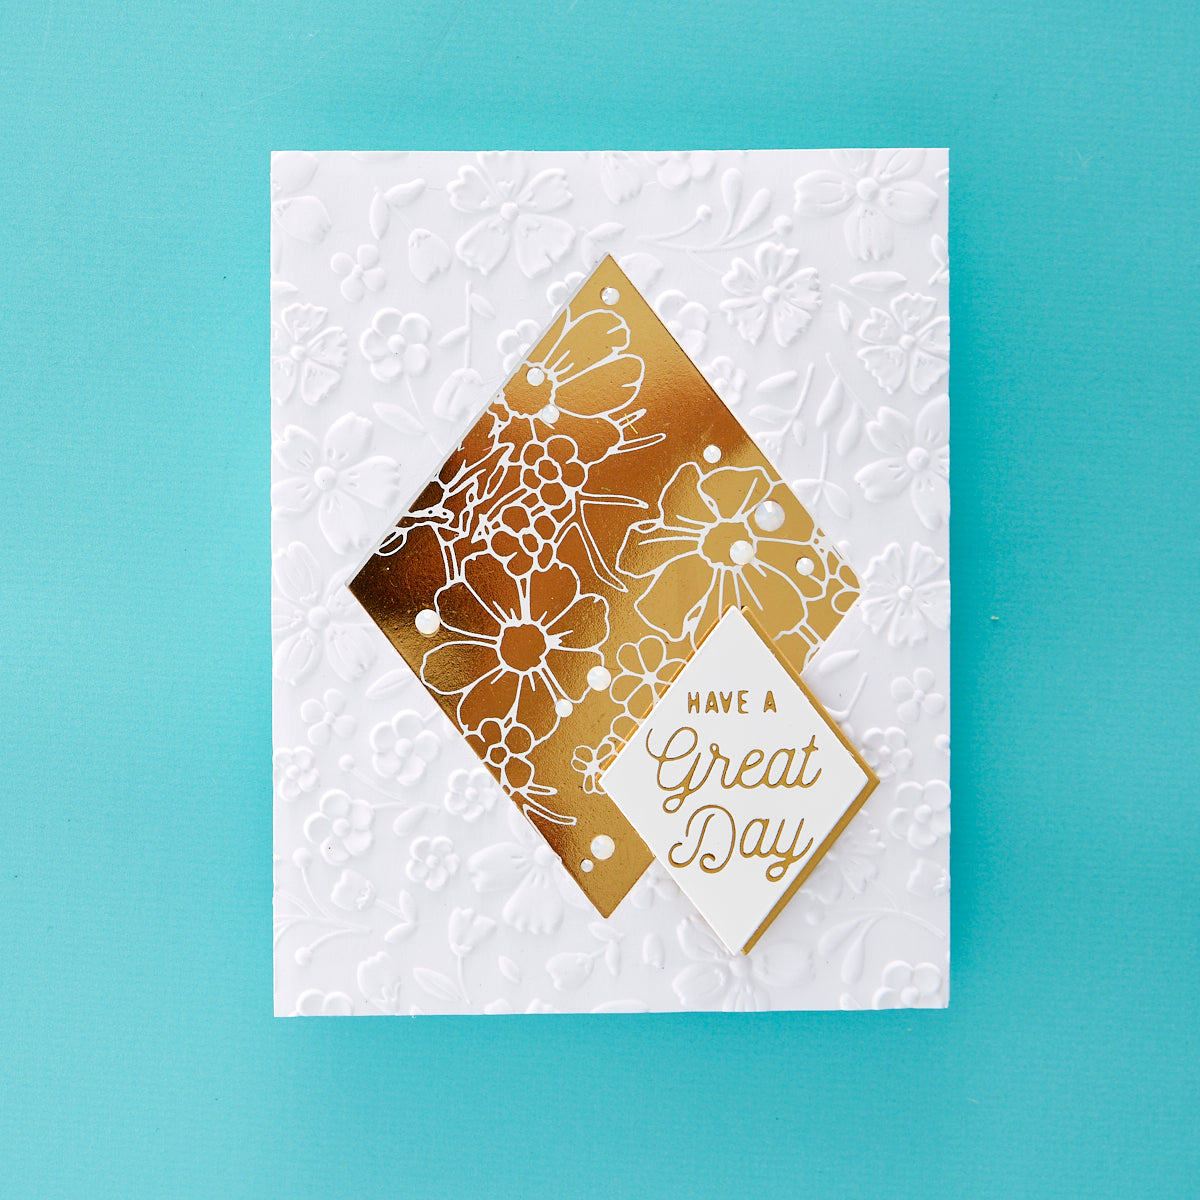
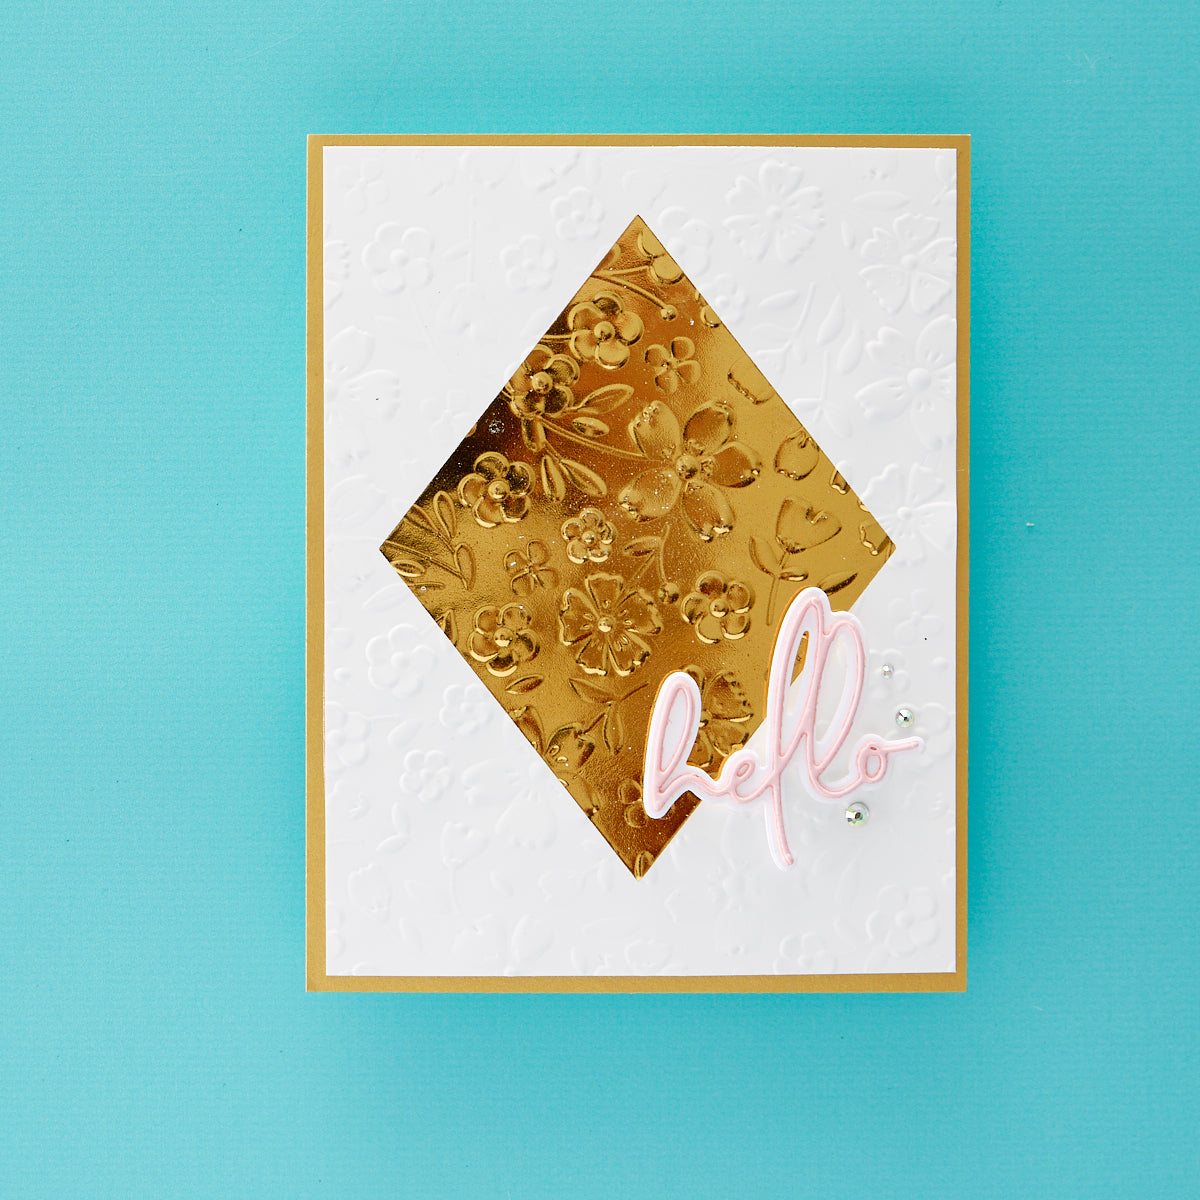
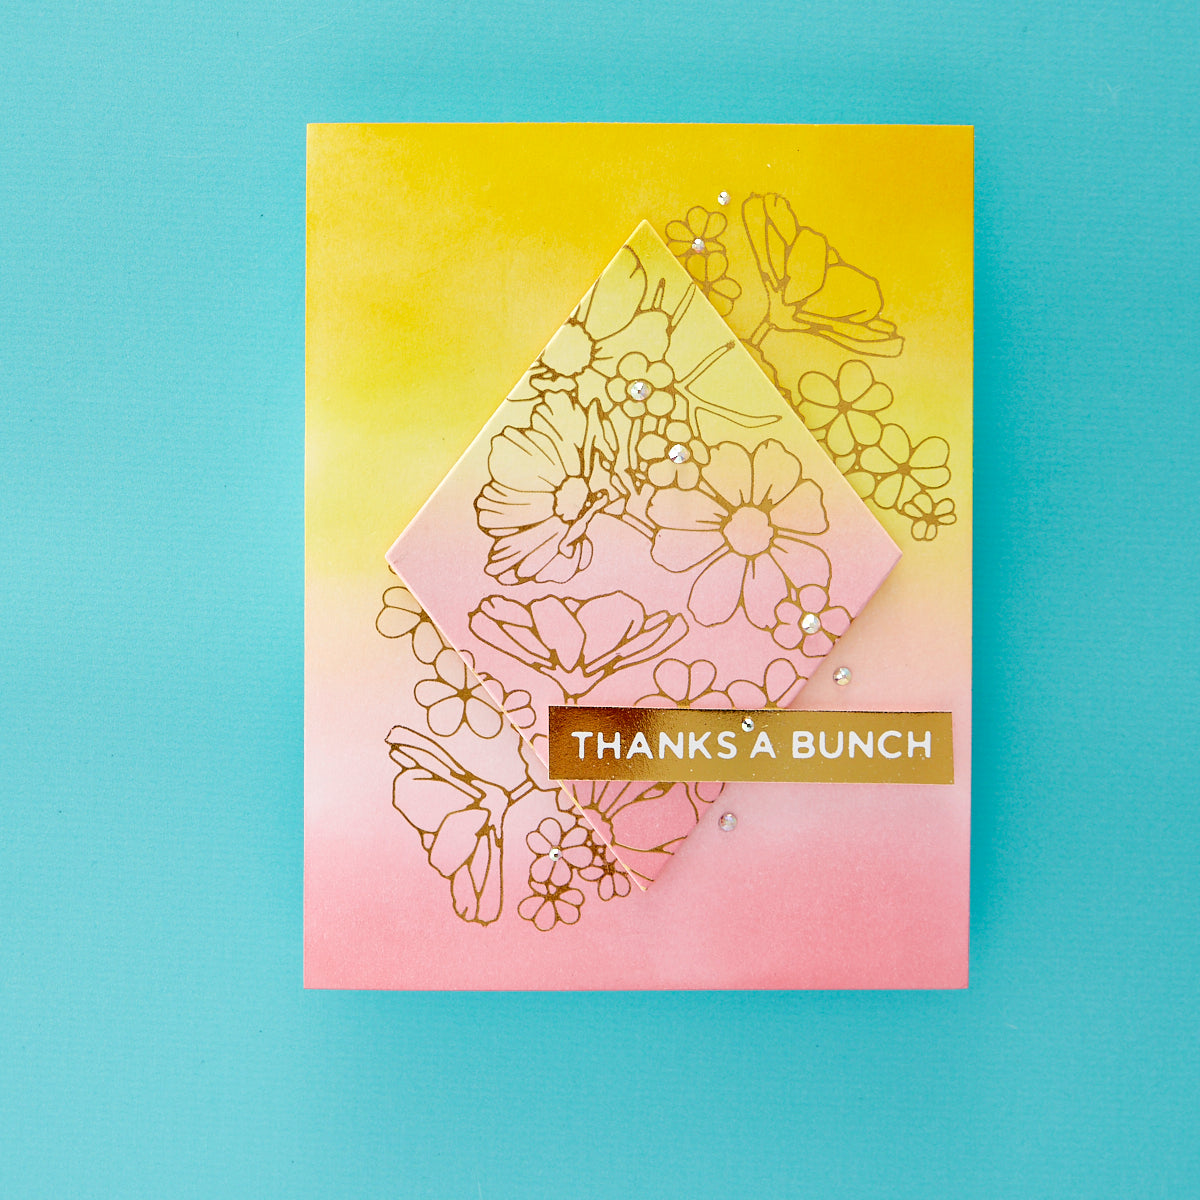
Nothing Says “WOW” like foil. With the Spellbinders Glimmer Hot Foil System you can now add this stunning and eye catching features to any card or mixed media project. Foiled Elements can also be added to various materials and thicknesses with your Platinum or Platinum 6 Die cutting & Embossing machine.

Glimmer Videos

WHAT'S IN THE BOX

Glimmer Landing Page.jpg__PID:68a07272-b5d4-43c5-b5d6-98c18d141f92
  • Base
  • Platform
  • Acrylic Spacer Pad
  • Thin Shim
  • Silicone Cooling Pad
  • Magnetic Pickup Tool
  • Foil Sampler Rolls
  • Glimmer Plate

How To Use Glimmer

Glimmer Landing Page_Step 1.jpg__PID:e7d5f2a7-faa7-4431-87e3-85e4d8daeb24

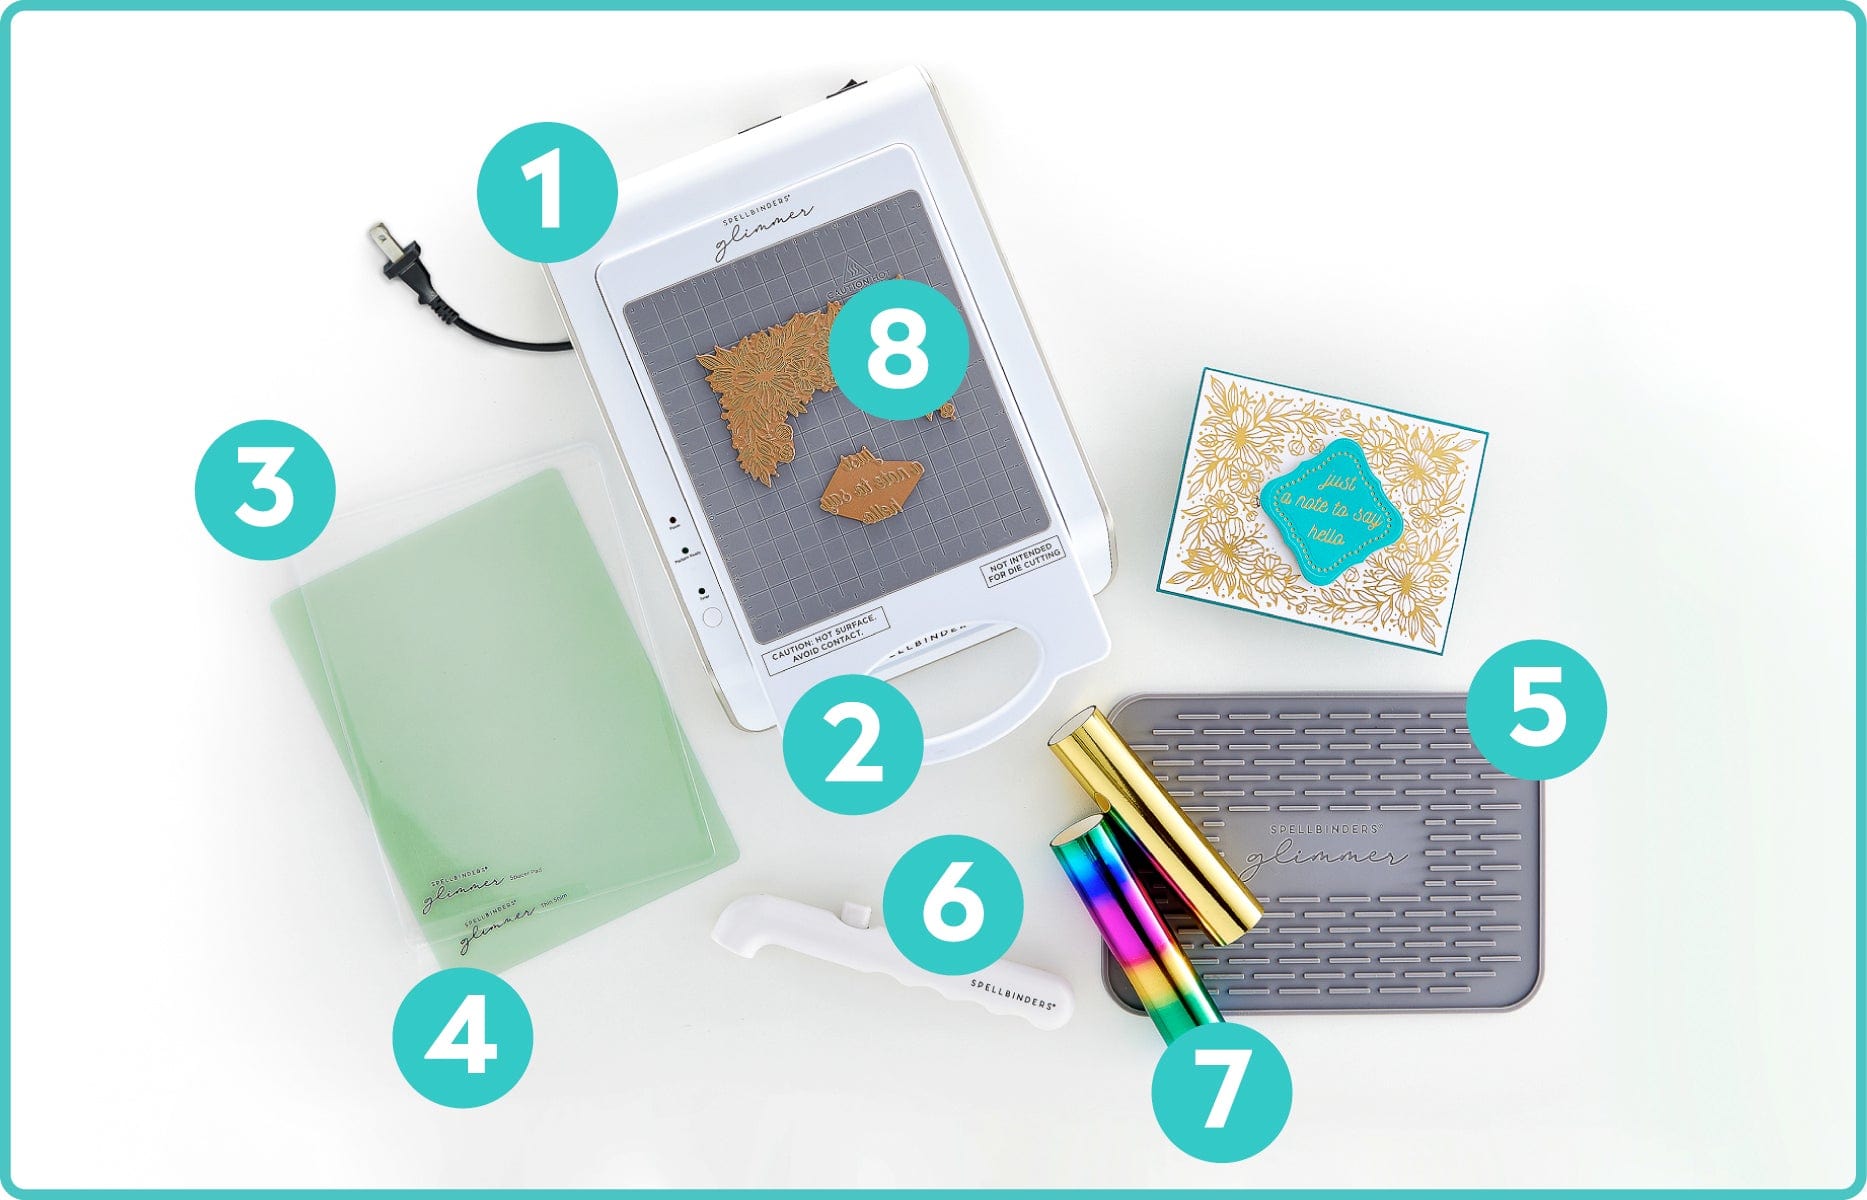
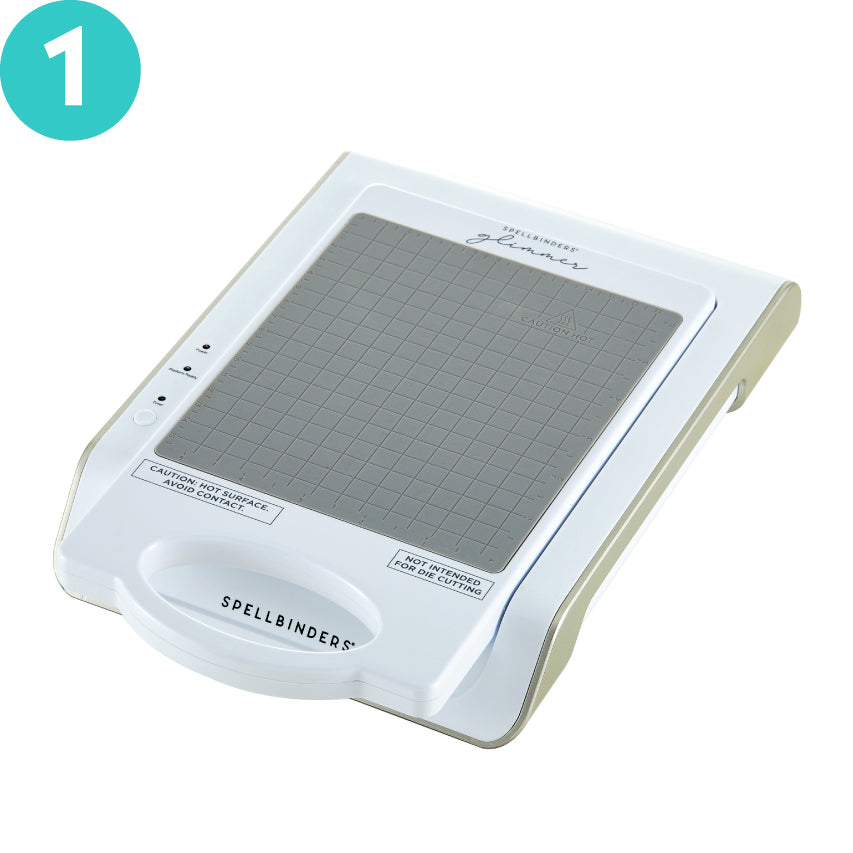
Plug in, turn on Machine and wait for it to heat up. The Platform Ready Light Indicator will turn green.

Glimmer Landing Page_Step 2.jpg__PID:f2a7faa7-0431-47e3-85e4-d8daeb24e11d

Place Glimmer Plate on the heating surface. Press Timer button and wait until it turns solid green.

Glimmer Landing Page_Step 3.jpg__PID:faa70431-07e3-45e4-98da-eb24e11d8ce9

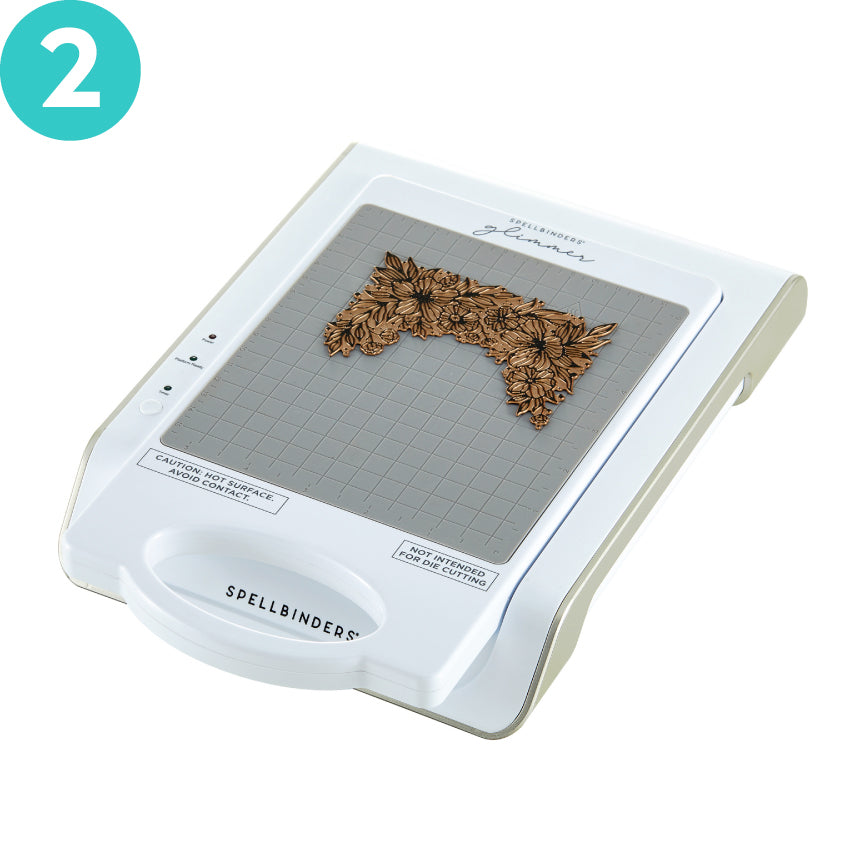
Place Glimmer Foil (shiny side facing down) on the hot foil plate.

Glimmer Landing Page_Step 4.jpg__PID:043107e3-85e4-48da-ab24-e11d8ce94ef8

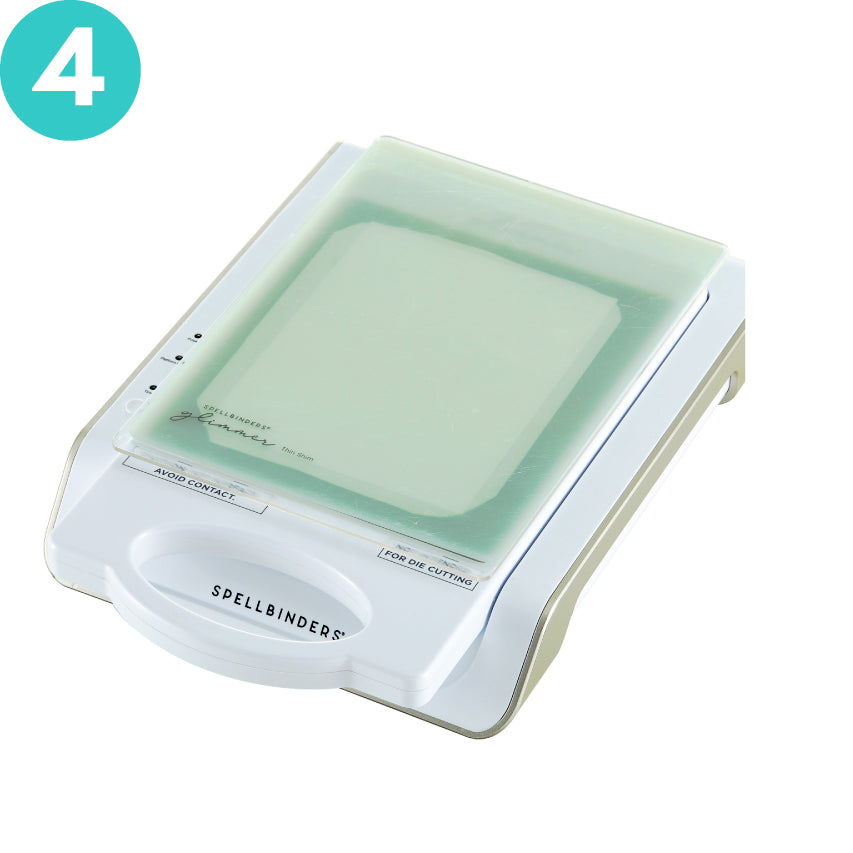
Add desired material and the necessary shims. See Material chart below.

Glimmer Landing Page_Step 5.jpg__PID:07e385e4-d8da-4b24-a11d-8ce94ef85c9c

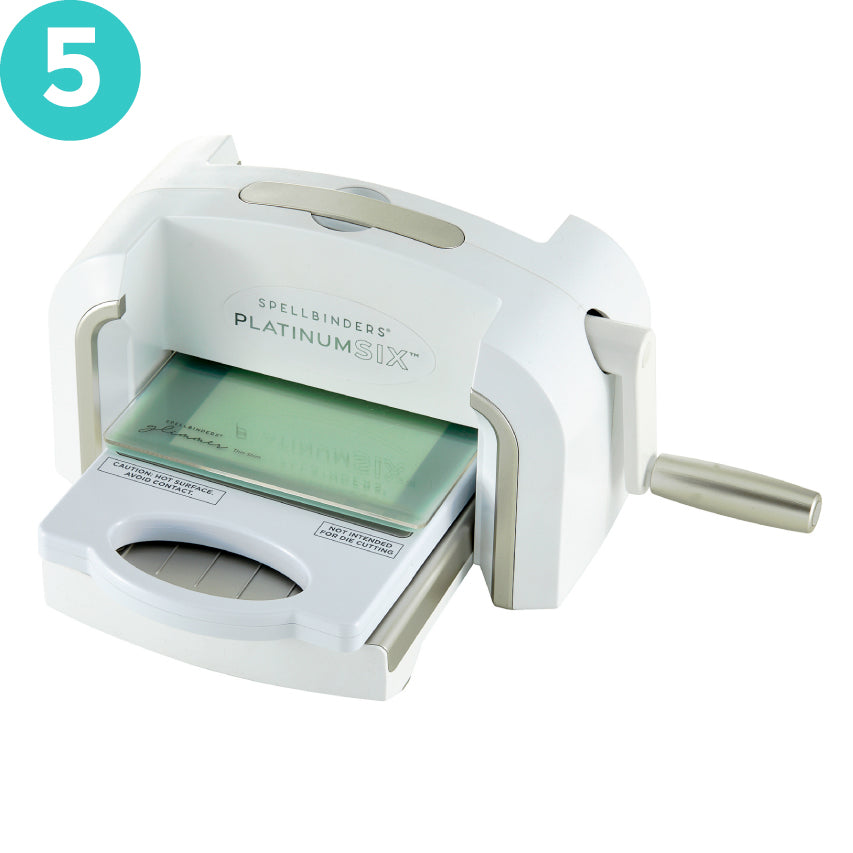
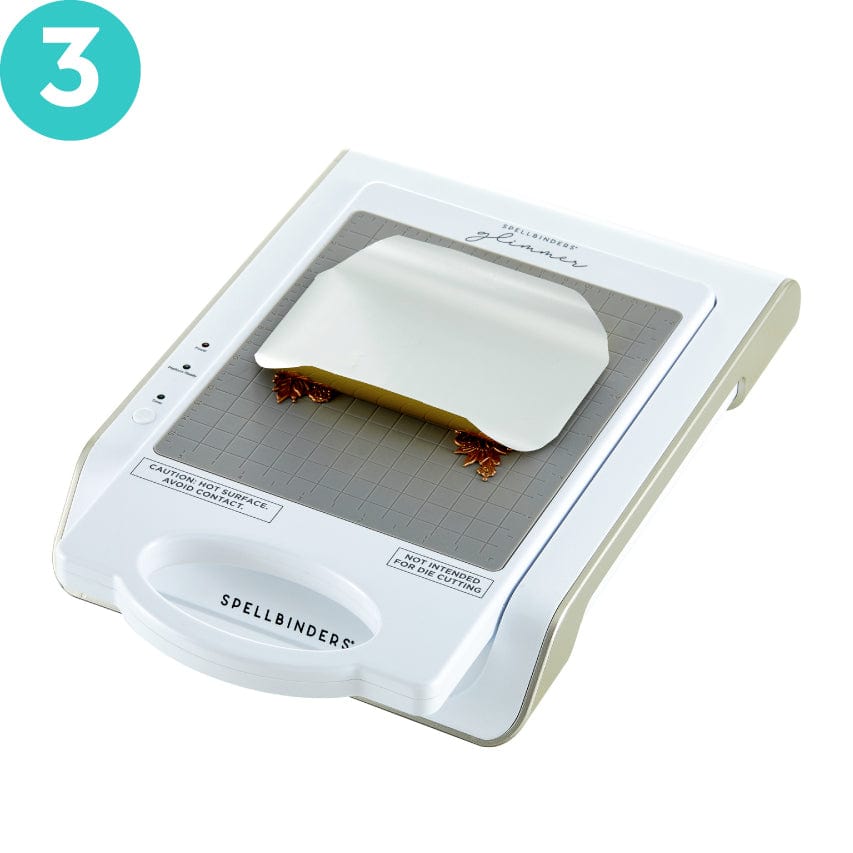
Remote the whole platform and sandwich and roll it slowly through the Spellbinder's Platnum Machine or any other approved die-cutting machine and back.

Glimmer Landing Page_Step 6.jpg__PID:85e4d8da-eb24-411d-8ce9-4ef85c9cf0e9

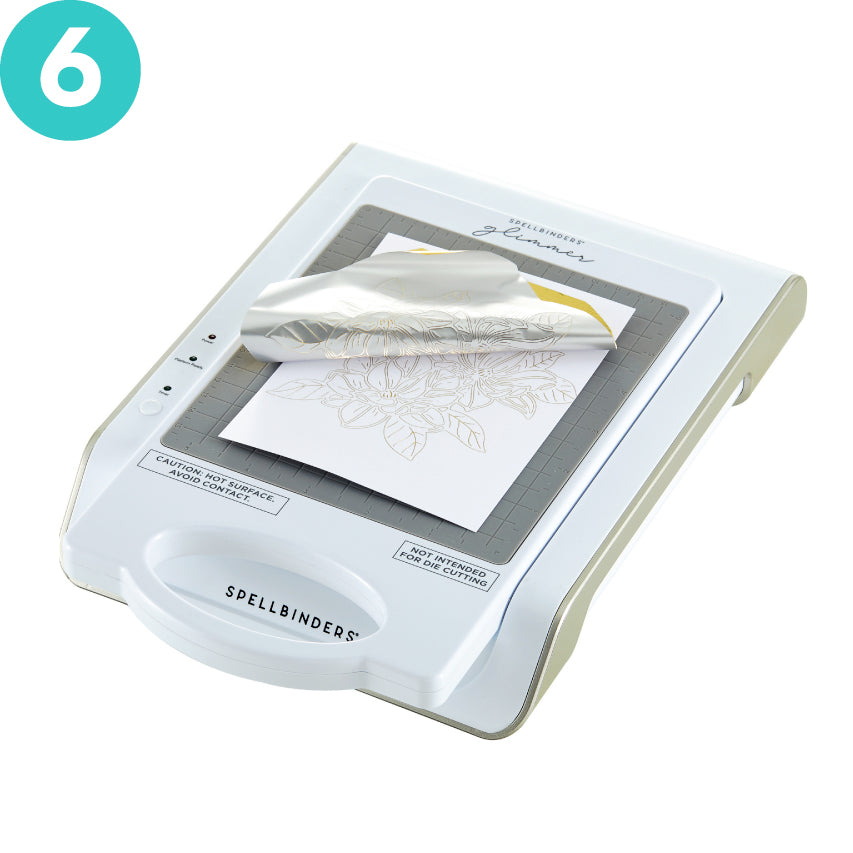
Remove Shims. Place the Platform back in base. Slowly peel Foil from the material and enjoy the lovely foil finish on your material.

Glimmer Advanced Techniques.jpg__PID:8066c736-7b31-46fc-af6e-61afe46d3200

How to Foil with Dies:

Build sandwiches starting from bottom-up

  • Plug in, turn on Machine and wait for it to heat up.
  • Place Etched/Wafer-thin die on the heating surface.
  • Press Timer button and wait until it turns solid green.
  • Place Glimmer Foil (shiny side facing down) on the etched die Add desired material and the necessary Shims.

See Material chart: Remove the whole Platform and sandwich and roll it slowly through the machine

Tip: When using dies, you will need to add an extra cardstock shim or two because the dies are slightly thinner than the Glimmer plates. *Not all dies will create ideal foil patterns.

How to Letterpress with Glimmer:

Build sandwiches starting from bottom-up

  • Do not heat up platform for letterpress
  • Ink the Glimmer Plate or leave it not inked
  • Place Glimmer Plate on the platform
  • Add desired material and the necessary Shims. See below material chart.
  • Remove the whole Platform and sandwich and roll it slowly through the machine

How to Clear Excess Over Foiling:

You can use a pencil eraser to or a round paint brush to help clear away any excess foil that remains after you have peeled away the foil sheet.

Check Out this awesome video to see how to minimize and remove excess foil.

How to get the best impression with foil:

We recommend that you use smooth surfaces vs. textured surfaces to get the best foil impression.

Textured cardstock vs. Smooth Cardstock

How to Negative Foil:

Save your larger used foil pieces. You can transfer the negative foiled image onto cardstock or chipboard. First add a sheet of cardstock on the heated platform. Then you layer the used foil, shiny side down, add your material, add paper shims (differs per material used), place your Glimmer Acrylic Spacer Shim on top, and then run through the machine.

Check Out this awesome video to learn how to reuse your foil. (3.13)

How to Foil With Other Materials:

You can foil on many materials but you will need to shim accordingly (add shims for thin materials or remove shims for thick materials) to create optimal foil transfer.

Types of other materials and suggested shims:
(Depending on your material, this chart may differ.)

Tips For Success

  • Trim corners of Glimmer foil to prevent over foiling
  • For best results, smooth cardstock is recommended.
  • Slowly roll platform through die cutting machine to ensure an even hot foil transfer.
  • When the platform is ready to foil, undock the platform first before placing foil, material and shims on hot Glimmer plate; then run through the die cut machine. This will reduce movement of foil or material.
  • It is recommended to connect the platform back into the base after each foiling.
  • Always use a magnetci pick-up tool to remove hot Glimmer plate from platform onto silicone cooling mat.
  • A clean, white eraser may be used to remove excess over foiling.
Glimmer 1.jpg__PID:ad449b25-5020-47b6-8a70-6c8cefcbb368
Glimmer 3.jpg__PID:67b6ca70-6c8c-4fcb-b368-695ac5c7a483
Glimmer 2.jpg__PID:502067b6-ca70-4c8c-afcb-b368695ac5c7
Glimmer 4.jpg__PID:ca706c8c-efcb-4368-a95a-c5c7a4839bcd
Glimmer 5.jpg__PID:6c8cefcb-b368-495a-85c7-a4839bcd01f3
Glimmer 6.jpg__PID:efcbb368-695a-45c7-a483-9bcd01f3589e
Glimmer 7.jpg__PID:b368695a-c5c7-4483-9bcd-01f3589eb705
Glimmer 8.jpg__PID:695ac5c7-a483-4bcd-81f3-589eb7053bcd
Glimmer 9.jpg__PID:c5c7a483-9bcd-41f3-989e-b7053bcd6683

FAQ

Additional Resources

Glimmer Compatibility
Glimmer section of the Compatibility Education Page

Glimmer Hot Foiling PDF User Guide
Download this Glimmer hot foiling cheat sheet

Shop Glimmer Collections
Choose from our ever-growing library of Spellbinders designs.

Shop Glimmer Foil Rolls
Choose from our library of Glimmer Foil Rolls

Glimmer Youtube Series
In-depth educational glimmer video tutorials

Inspiration Gallery

Share your projects by tagging your photos on Instagram with @TeamSpellbinders + #Spellbinders or #NeverStopMaking. Or upload your photos here. We LOVE to see what you're making!